When I graduated college and moved to Baltimore, I needed furniture. A LOT of furniture. I didn’t have anything to use in my apartment. Lucky for me, a family friend knew an older lady who was moving from an apartment into assisted living and was getting rid of not just furniture, but lamps, pots and pans, dining-ware, etc. It was a total score. I was completely set for my new tiny one-bedroom.
Fast forward four years: I’m pregnant! Now I need a chair/glider/rocker for the nursery. This is one of the hand-me-down chairs I was given to use in that first apartment. It’s really comfortable but at the time, we were using it to collect dust in the basement.
Blurry picture, but this is just the before. I don’t know what kind of chair this is but it swivels and rocks so it was perfect for what we needed in the nursery.
Perfect in that we needed to reupholster it, that is. Let me just say…I had the idea to reupholster this chair even before I was pregnant and Bob wanted nothing to do with it. He did, however, take some pictures of it and get an estimate to have professionally reupholstered. After throwing up in his mouth a little bit (from the outrageously expensive price), he decided that was NOT going to happen. So how do you motivate your husband to do something he doesn’t want to do? Tell him it’s too hard anyway…
Yeah! He mentioned to his mom that I wanted us to do this together and when she said she thought that would be too hard, he made like Barney Stinson and said,
Challenge Accepted!
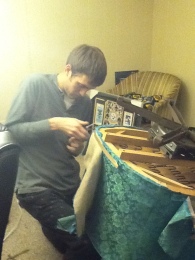
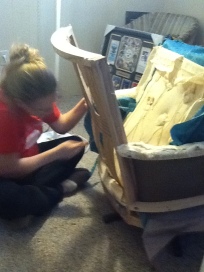
We really didn’t know what we were doing, we just dove right in. We started removing staples and just agreed to take note of how it was put together and just put it back the same way.
We used a screwdriver and needle-nosed pliers to pry out all of the staples. The chair also had some nails/tacks that held things together so we used the claw end of a hammer to get those out.
Here’s the chair all stripped down and naked-like.
We got a little scared at this point but soldiered on.
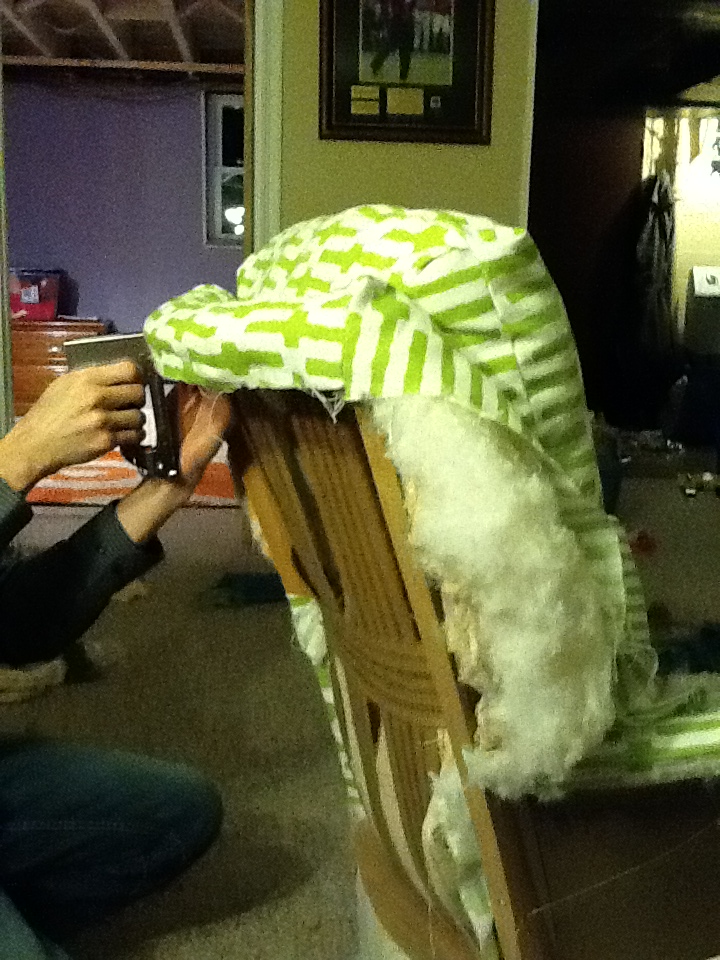
To put Humpty-Dumpty back together again, I simply ironed the pieces of the chair after ripping out the stitches and then traced them onto our new updated-and-matches-our-nursery fabric. Then we began stuffing and stapling. We started with the seat…
Then the arms…
The back was the hardest to sew back together. We skipped the cording on it to make it a bit easier for me…
I should note that we actually saved a lot of the stuffing/batting from the chair to reuse, but I wanted it to be a bit more cushy so we added another layer.
The seat cushion we commissioned to Bob’s aunt because I hadn’t yet bought a zipper foot for my sewing machine.
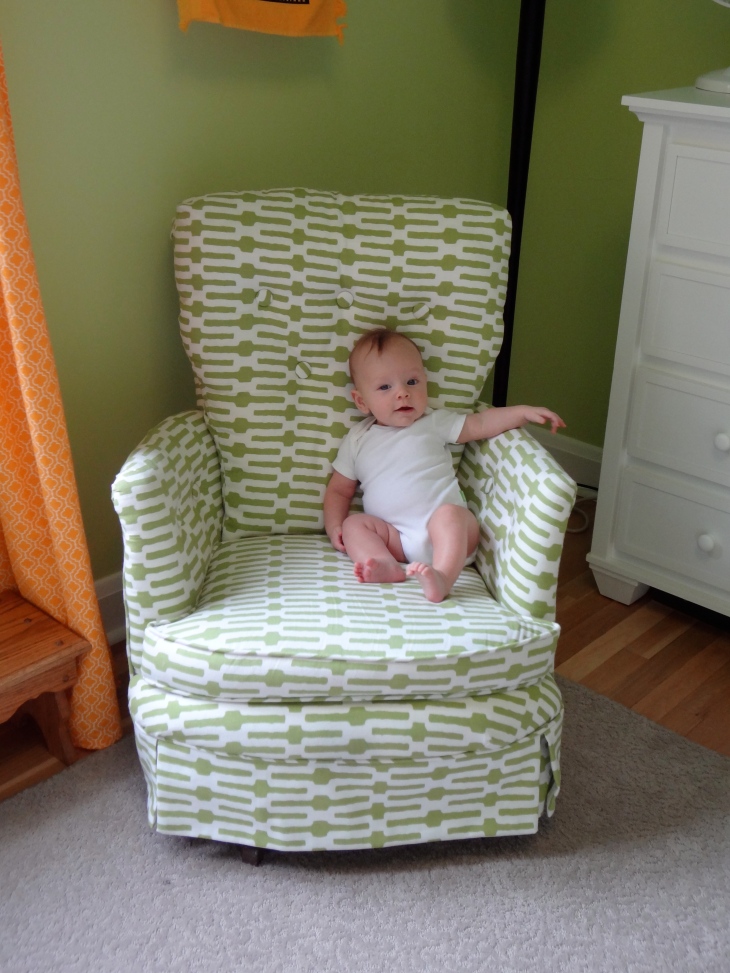
Last to get attached was the skirt. Here is the finished product in all its glory in Clark’s nursery.
We love it and we are so proud of ourselves for DIY-ing it! Here’s the little man enjoying it too.
Straight chillin’ like a villain!
To see more pictures of Clark’s nursery, click here.


Honestly my favorite project you’ve ever done. Perfect place for a 97 percentile kid to sit.
I would be so intimidated to upholster a chair like that! I’ve only ever upholstered dining chairs where you just screw off the seat and staple a new fabric on. I’m super impressed and would love to attempt that one day, it looks awesome!
Thanks Jennifer! It was easier than we thought it would be. You should definitely try it!
Pingback: The Master Plan | familyjulius