A Place to Sit

When I graduated college and moved to Baltimore, I needed furniture.  A LOT of furniture.  I didn’t have anything to use in my apartment.  Lucky for me, a family friend knew an older lady who was moving from an apartment into assisted living and was getting rid of not just furniture, but lamps, pots and pans, dining-ware, etc.  It was a total score.  I was completely set for my new tiny one-bedroom.

Fast forward four years: I’m pregnant!  Now I need a chair/glider/rocker for the nursery.  This is one of the hand-me-down chairs I was given to use in that first apartment.  It’s really comfortable but at the time, we were using it to collect dust in the basement.

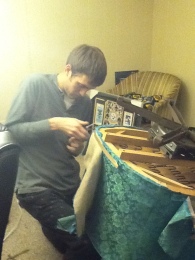
Blurry picture, but this is just the before.  I don’t know what kind of chair this is but it swivels and rocks so it was perfect for what we needed in the nursery.

Perfect in that we needed to reupholster it, that is.  Let me just say…I had the idea to reupholster this chair even before I was pregnant and Bob wanted nothing to do with it.  He did, however, take some pictures of it and get an estimate to have professionally reupholstered.  After throwing up in his mouth a little bit (from the outrageously expensive price), he decided that was NOT going to happen.  So how do you motivate your husband to do something he doesn’t want to do?  Tell him it’s too hard anyway…

Yeah!  He mentioned to his mom that I wanted us to do this together and when she said she thought that would be too hard, he made like Barney Stinson and said,

Challenge Accepted!

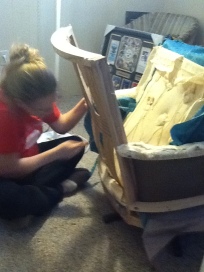
We really didn’t know what we were doing, we just dove right in.  We started removing staples and just agreed to take note of how it was put together and just put it back the same way.

We used a screwdriver and needle-nosed pliers to pry out all of the staples.  The chair also had some nails/tacks that held things together so we used the claw end of a hammer to get those out.

Here’s the chair all stripped down and naked-like.

We got a little scared at this point but soldiered on.

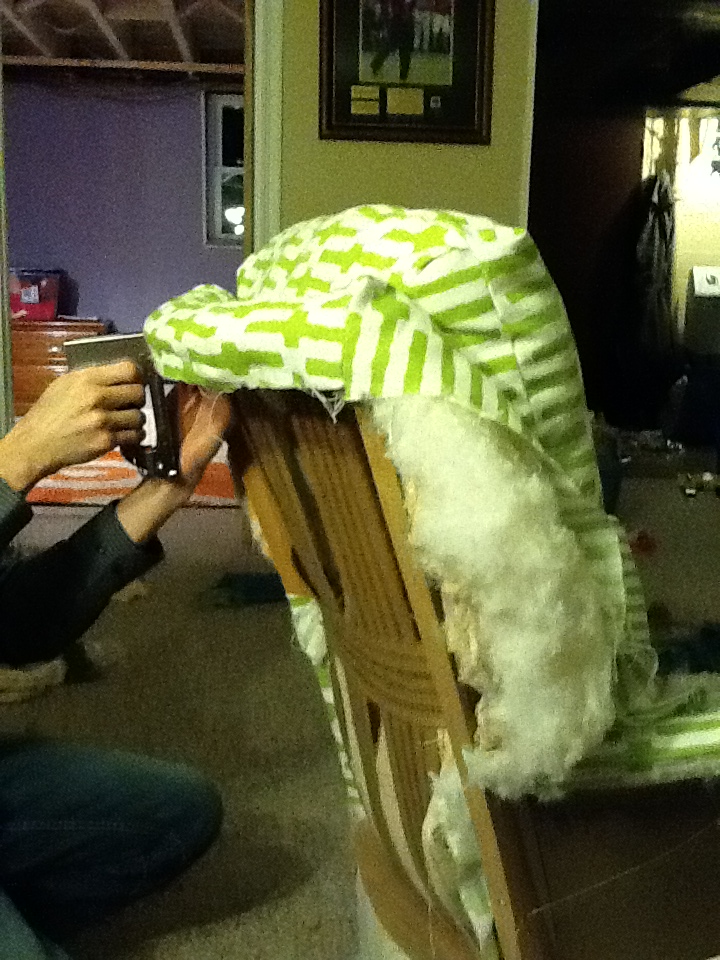
To put Humpty-Dumpty back together again, I simply ironed the pieces of the chair after ripping out the stitches and then traced them onto our new updated-and-matches-our-nursery fabric.  Then we began stuffing and stapling.  We started with the seat…

Then the arms…

The back was the hardest to sew back together.  We skipped the cording on it to make it a bit easier for me…

I should note that we actually saved a lot of the stuffing/batting from the chair to reuse, but I wanted it to be a bit more cushy so we added another layer.

The seat cushion we commissioned to Bob’s aunt because I hadn’t yet bought a zipper foot for my sewing machine.

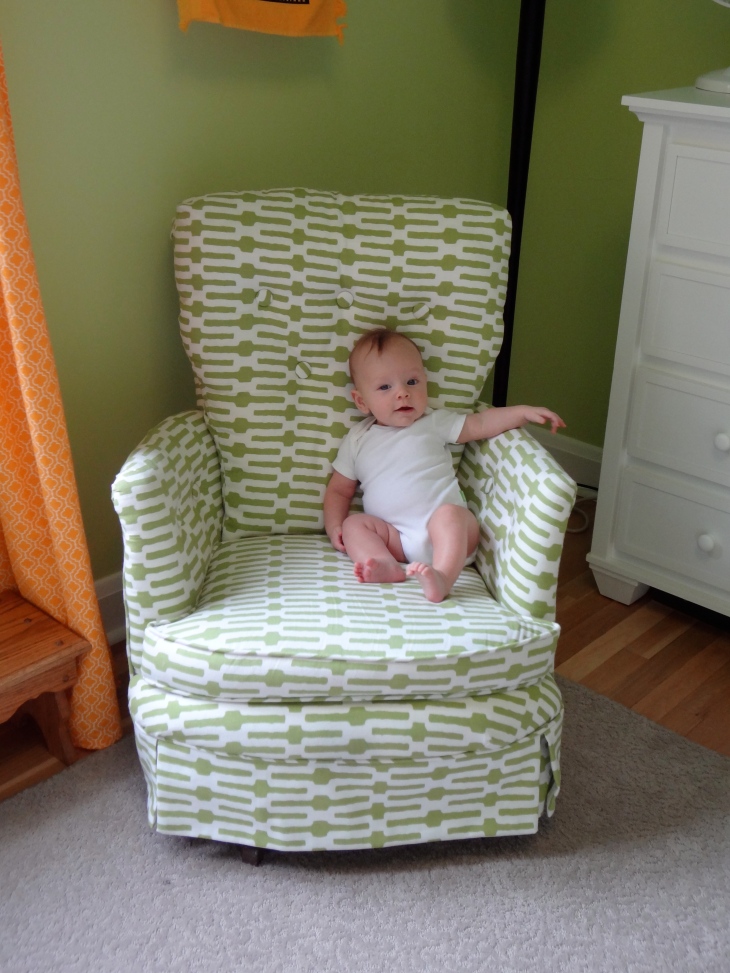
Last to get attached was the skirt.  Here is the finished product in all its glory in Clark’s nursery.

We love it and we are so proud of ourselves for DIY-ing it!  Here’s the little man enjoying it too.

Straight chillin’ like a villain!

To see more pictures of Clark’s nursery, click here.

Clark’s Room

Had a really great (tiring) weekend in Pittsburgh with Bob’s family.  SO many firsts for Clark, so I’ll give the trip its very own post.  I wanted to post Clark’s nursery before we left but I just got so busy with prepping for the road trip that I didn’t have time.  So tah-dah!

Image

Clarks room is the smallest of the three bedrooms upstairs.  We didn’t know if we were having a boy or a girl so we went gender-neutral.  Although, now it’s hard to see this as a girl’s room.

The walls are Glidden Spring Green and I forget what the ceiling color is.  I’ll have to look that up.

I made the curtains and the changing pad cover.  After sleeping in a room this weekend with black-out blinds, I think I’m going to have to buy some black-out fabric to sew to the back of the curtains.

Image

My older sister made the bunting flags and the quilt.  I can’t even explain how perfect they are.  Modern, same color scheme, but not too matchy-matchy.  They were just exactly what the room needed.  Plus, I use the quilt to take Clark’s monthly photos.

I DIY-ed the “art” above the crib.  The small frame is actually a card we got from a friend after we told her I was pregnant.  The larger frame is just a piece of fabric (leftover from the Boppy cover that Bob sewed – yes, I said Bob 🙂  LOVE that my hubby can use a sewing machine!) with a free printable centered on it from this site.  (I plan on re-printing it onto card stock just as soon as we get around to buying some.)

The dreamcatcher was a gift from a woman who works for my father-in-law.  She’s half Native American and made it herself.  She also gave us a handmade quilt and information on otters.  Apparently, that’s what Clark is!  Isn’t that so cool?

The mobile was a gift from Bob’s cousins.  They got it from a really cool store in Annapolis.  I’ve never seen anything like it.  So boyish and cool for Clark to look up at as he falls asleep.

I made the crib skirt, but it’s only two-sided, I’m going to post about that soon too.

Image

This chair…I’m SO PROUD of this chair.  Bob and I reupholstered it ourselves!  (Will post about it as well)  I nurse Clark in this chair at night and rock him to sleep in it for naps and bedtime.  It’s comfy and is just very special to me.

The bookshelves are these Ikea spice racks just painted white.  We need one or two more with all the books we’ve been gifted, but I love them!

The stool Bob made in shop class when he was in junior high school.  There’s a few other sentimental things in the room that either he or I made when we were young.  It feels so good to pass those things on to our son (and future kids).

The frames above the dresser are just Ikea frames filled with these really cool printed rice papers that my mom got from Korea.

Image

Blocks from Lad of Nod and a teddy bear Bob got me when we were dating.

Image

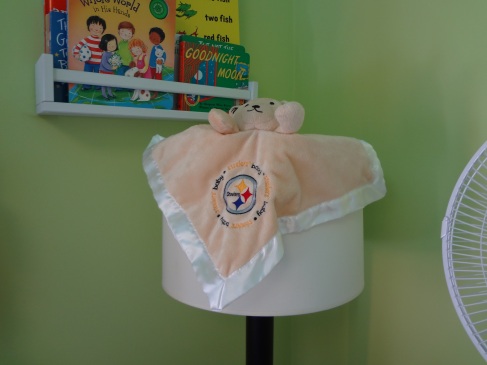
We may live in Bird Land, but this baby will be raised a Steelers fan!

I don’t consider the room “finished”.  There’s still some areas I’m sure will get switched up as time goes by, but I love this room!  It’s so bright and cheery and fun!

Eventually I’ll post about:

  • How we reupholstered the chair
  • How to make the changing pad cover
  • How to make the crib skirt (I’m still tweaking it)